
Now we’re on to the REALLY exciting stuff — the camera!! Seriously, I don’t know how this will read from a player’s perspective, but from the development side this was a tricky puzzle, and REALLY important to solve. The camera in Bleed 2’s Story Mode is meticulously controlled — maximizing screen space, showing the way forward and making gameplay as smooth as possible (I showed a little bit of that in this post.) Having a similar-quality camera in Endless Mode was an absolute must.
In abstract, the way I did it sounds kinda basic. I created “camera zones” — invisible volumes that, when entered, give instructions to the game’s camera on how to behave. Every level chunk is absolutely plastered with camera zones — if I did my job right, they cover 100% of every chunk (and if I messed up on this I guarantee you’ll be able to tell.) Here’s a shot with camera zones drawn in translucent blue:
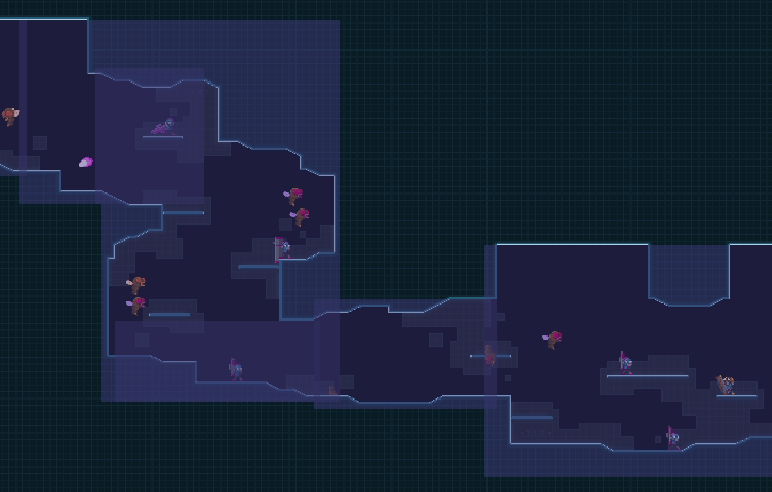
Unfortunately it’s not as easy as “make some camera zones” though — camera zones have a ton of properties that need to be set for every zone. Here’s a list of them to give you an idea of what it was like!
- Clamps: Limits for the camera’s position. If the player moves against a wall, for example, you want the camera to stop at a certain point — it’s more useful to keep the rest of the level in view rather than showing a lot of solid wall for no reason.
- Target Offset: The player is the camera’s focus, but you usually want the camera a bit off-center to show the way forward, or highlight an important level feature, for example.
- Zoom: I mean… you know what this is. Some areas benefit from being zoomed in or out
- Orientation: Lets the camera know if the area it covers is meant to be traversed vertically or horizontally (this is explained in just a bit…!)
- Secondary Target: A second target (other than the player) to focus on, and how much proportionally the focus is shared between the two. One use for this is as a dynamic version of the Target Offset, for example. If the player is traveling up a large vertical tunnel, the Secondary Target could be the tunnel’s center — so no matter which side of the tunnel the player is on, the camera tends towards the tunnel’s center and keeps the majority of the relevant space in view.
- Secondary Clamp: A second, optional set of clamping values. When supplied, as the player moves through the Camera Zone, the camera’s Clamps transition smoothly from the first values to these second ones. I often use this for chunks with sloping features, to make the camera move from the bottom of the slope to the top as the player goes up it, for example.
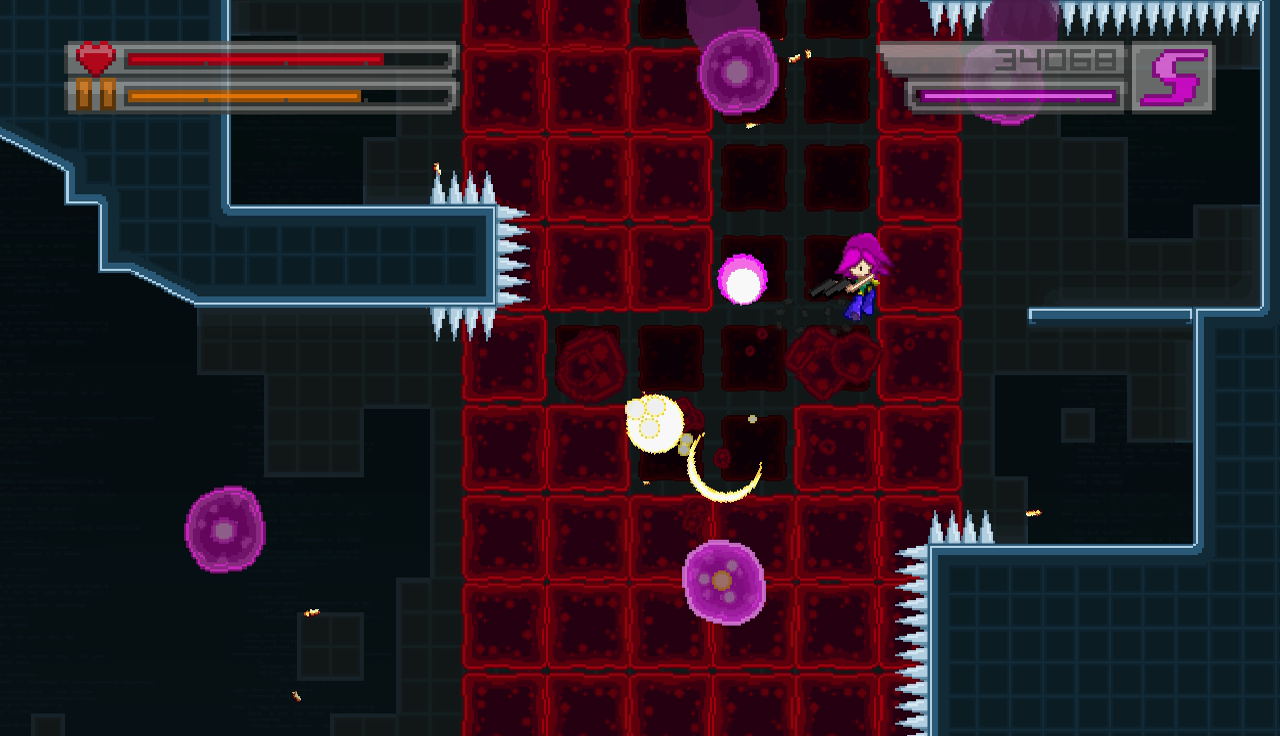
…whew! Still awake? Here’s a couple examples, with and without camera zones, to illustrate the difference!
You can see the game looks more much stable and polished with camera zones. On top of that, the zones show a bit farther below the player, giving you an idea of which direction to go and what’s below. It also locks position to the center of this area, giving the impression of an open shaft without sides or a bottom. Without camera zones, you can see the walls and floors hidden off-screen and it ruins the illusion.
One more example. Without camera zones, much of the level is off-screen, and the camera only pans up the slope when Wryn’s vertical position moves. Notice how with camera zones, even when Wryn is walking on flat ground, the camera continues to pan smoothly up the slope!
All the parameters that need to be set are a headache, but they aren’t even the hardest part. If you recall, chunks can be normal or mirrored, and can be traversed forwards and backwards depending on the direction of the level! So camera zones need to take all this into account and adjust their values accordingly — to flow up a slope instead of down, for instance, or to show “ahead” of the player to the left instead of to the right. Also, thanks to vertical and u-turn chunks, some rare areas are mainly vertical and not horizontal, which adds yet another set of circumstances the camera zones have to intelligently account for. Yeesh.
Finally: camera zones have all their parameters described relative to their parent chunk. So for example, if a chunk is 8×8 tiles, and a camera zone is at the chunk’s centre, then the camera zone’s position is (4, 4). With me so far? But when it’s time to convert all the chunks into one big final level, all the camera zone parameters need to be adjusted from their relative position in the chunk, to their absolute position in the level.
Wheeeew!! I think we’re finally done with the boring stuff! Next week I’ll talk about enemies, environments, and hazards! See you then!